

Onboarding wizard
Onboarding is a six-step wizard under Getting Started → Onboarding. It turns on the capabilities you want, grants MovoSuite the permissions it needs, sets up Teams and email notifications, and confirms everything is ready. Steps that grant tenant-wide consent require a Directory (Global) Administrator — see Prerequisites.
Use Next / Previous to move between steps and Save to persist a step without leaving it.
Step 1 — Configure Enabled Features
Section titled “Step 1 — Configure Enabled Features”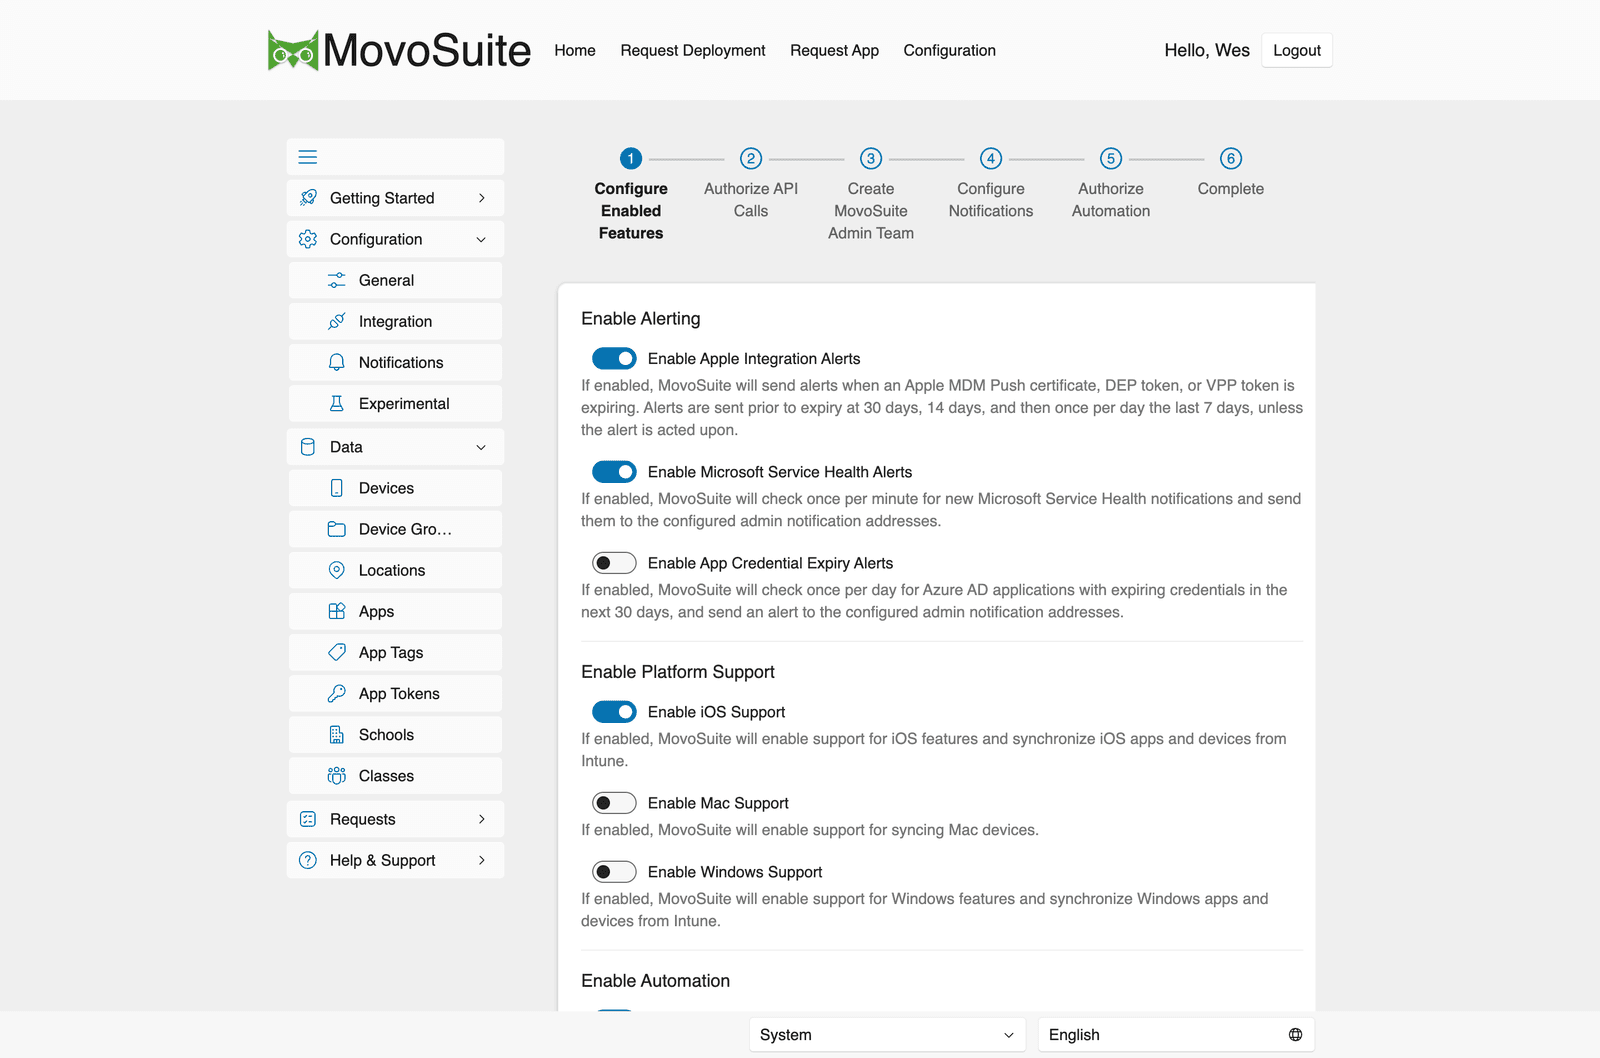
Turn on only the capabilities you need. Grouped into:
- Alerting — Apple Integration Alerts (APNS cert and DEP/VPP token expiry within 30 days, plus a 7-day post-expiry grace), Microsoft Service Health Alerts (checked each minute), and App Credential Expiry Alerts (Entra app credentials expiring within 30 days). See Alerts & monitoring.
- Platform Support — iOS, Mac, and Windows. Enabling a platform syncs that platform’s apps and devices from Intune and shows them under Data → Devices. Self-service forms are controlled separately (a platform can be managed in admin data without being offered to teachers).
- Automation — iOS Volume-Purchased App Support (auto-provision app groups) and iOS Device Naming Support (rename devices to your scheme).
- Self-Service — Self-Service Application Deployment (the deployment form) and Self-Service Purchase Request (the app-request form).
Step 2 — Authorize API Calls
Section titled “Step 2 — Authorize API Calls”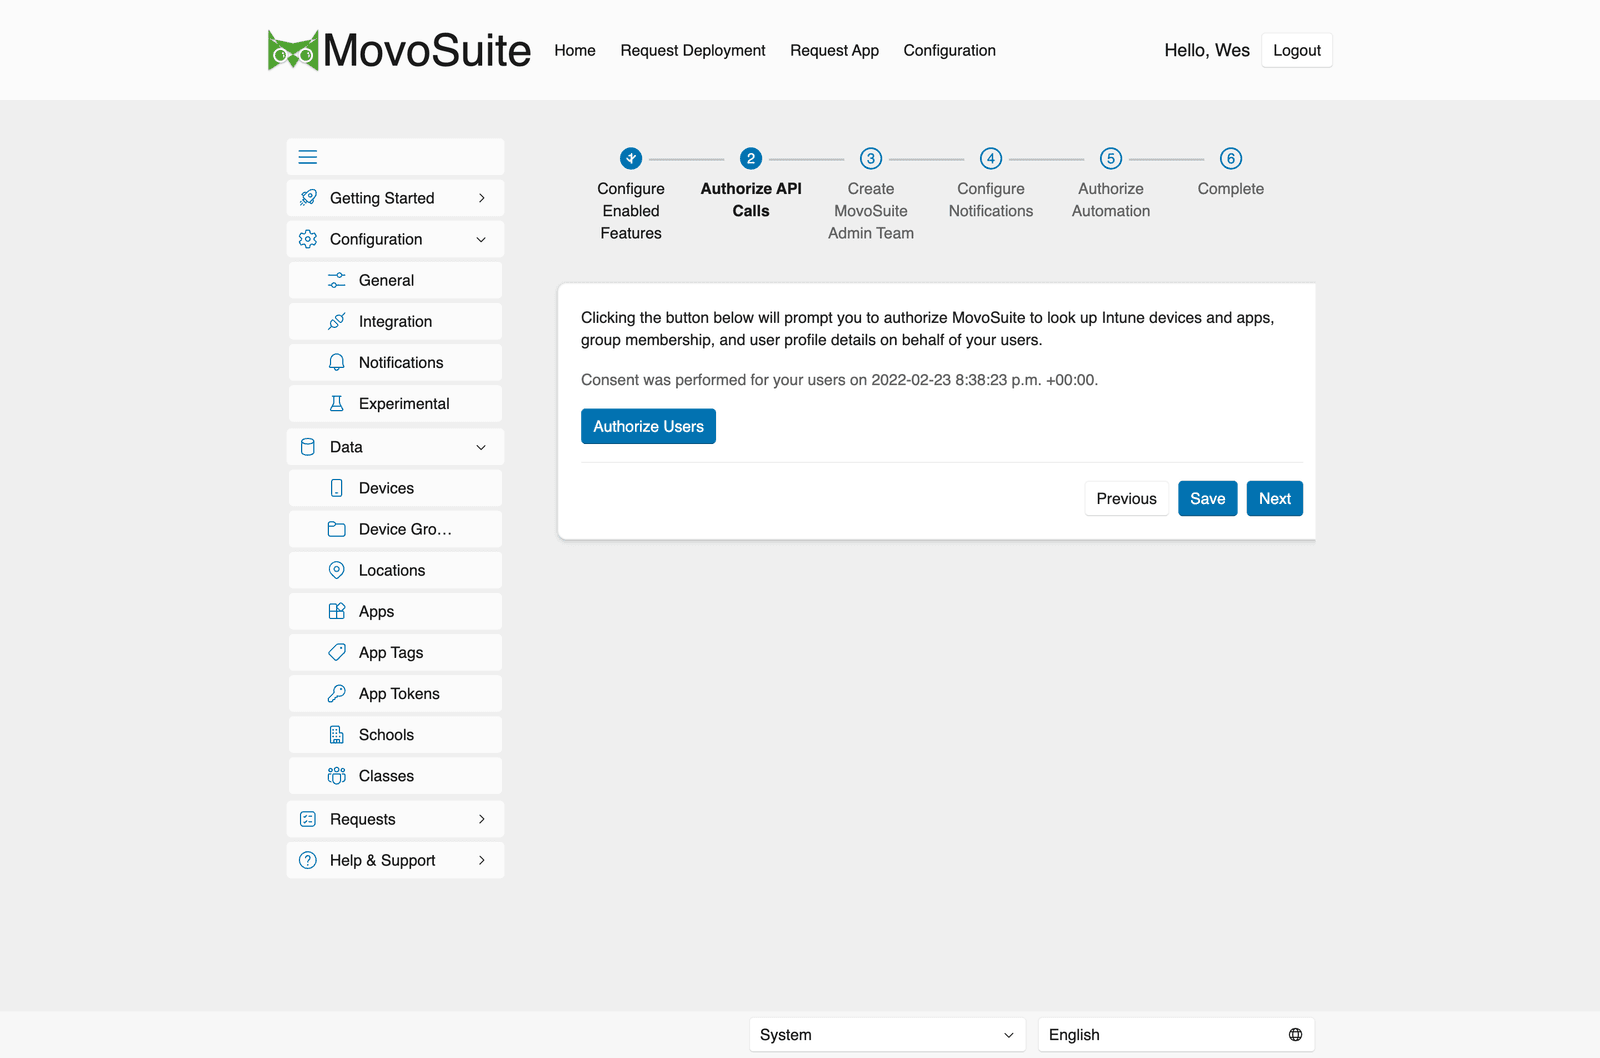
Click Authorize Users and accept the consent prompt. This lets MovoSuite look up Intune devices and apps, group membership, and user profile details on behalf of your users. The page shows when consent was last performed.
Step 3 — Create MovoSuite Admin Team
Section titled “Step 3 — Create MovoSuite Admin Team”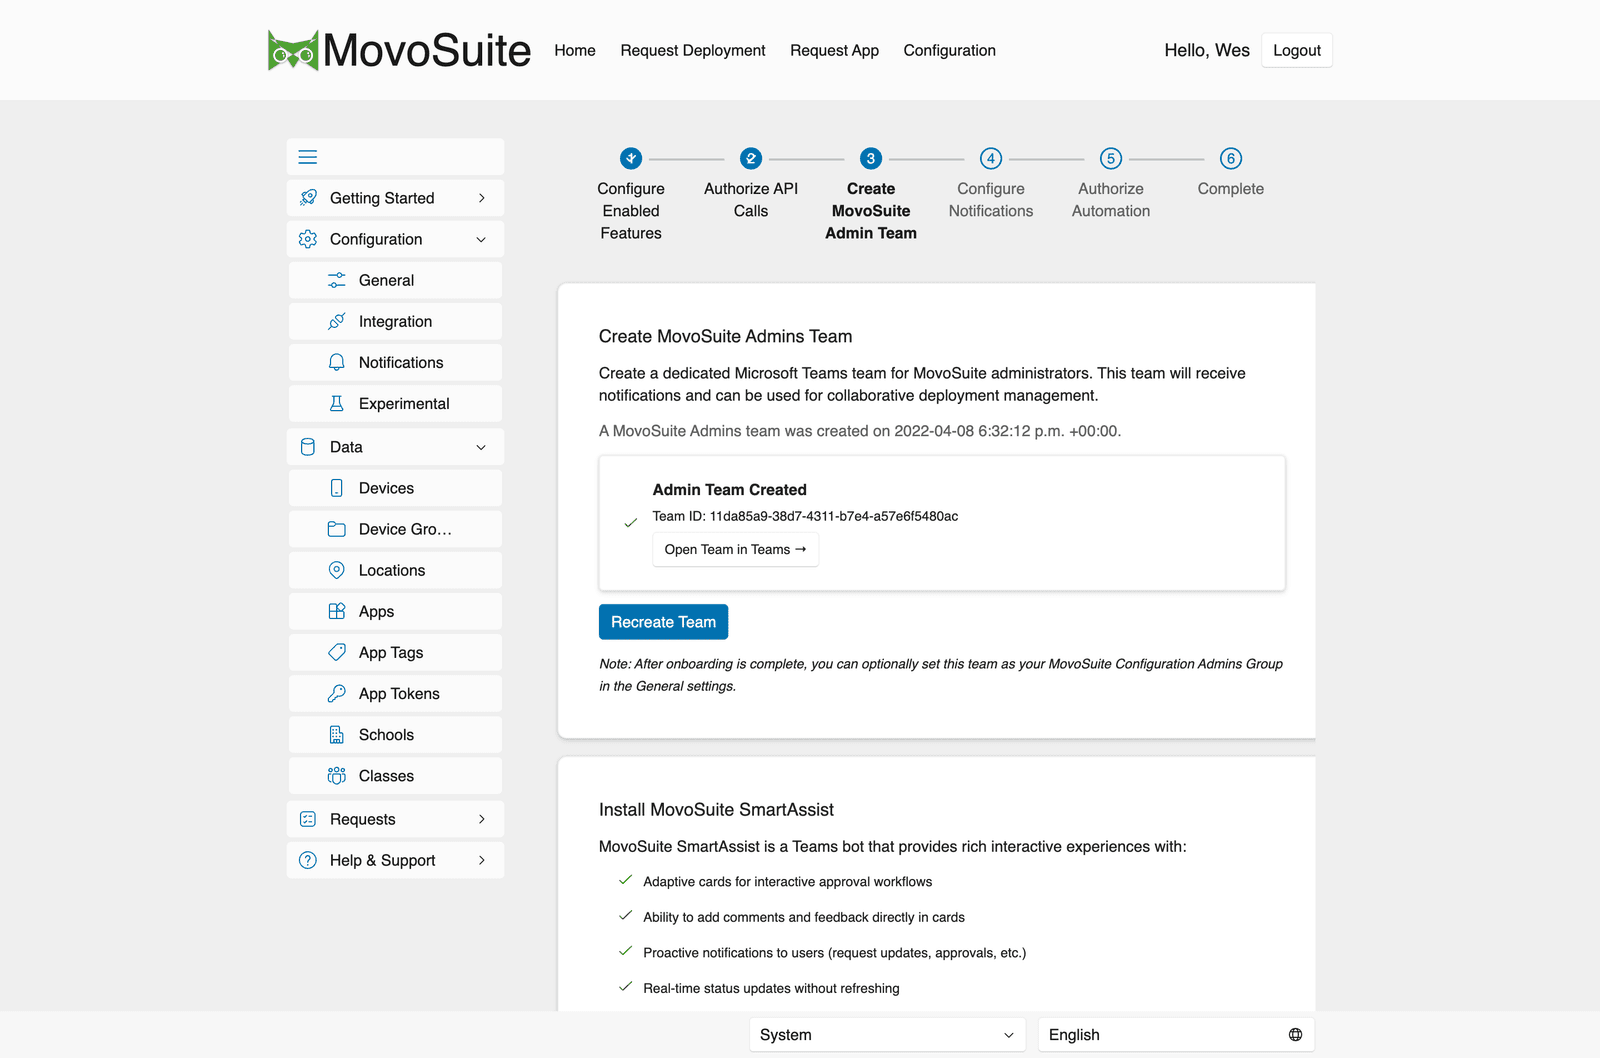
- Create a MovoSuite Admins team in Microsoft Teams to receive notifications and coordinate deployments. You can later set this team as your Configuration Admins Group under General → Security.
- Install MovoSuite SmartAssist — a Teams bot that delivers rich interactive notifications: Adaptive Cards for approval workflows, inline comments/feedback, proactive request/approval updates, and live status without refreshing. Use Publish to Teams, or Download App Package to hand to your Teams admin if you can’t publish yourself.
- Teams Webhooks — configure incoming-webhook URLs instead of, or alongside, the bot. Webhooks are one-way and static (no interactive cards or comments).
Step 4 — Configure Notifications
Section titled “Step 4 — Configure Notifications”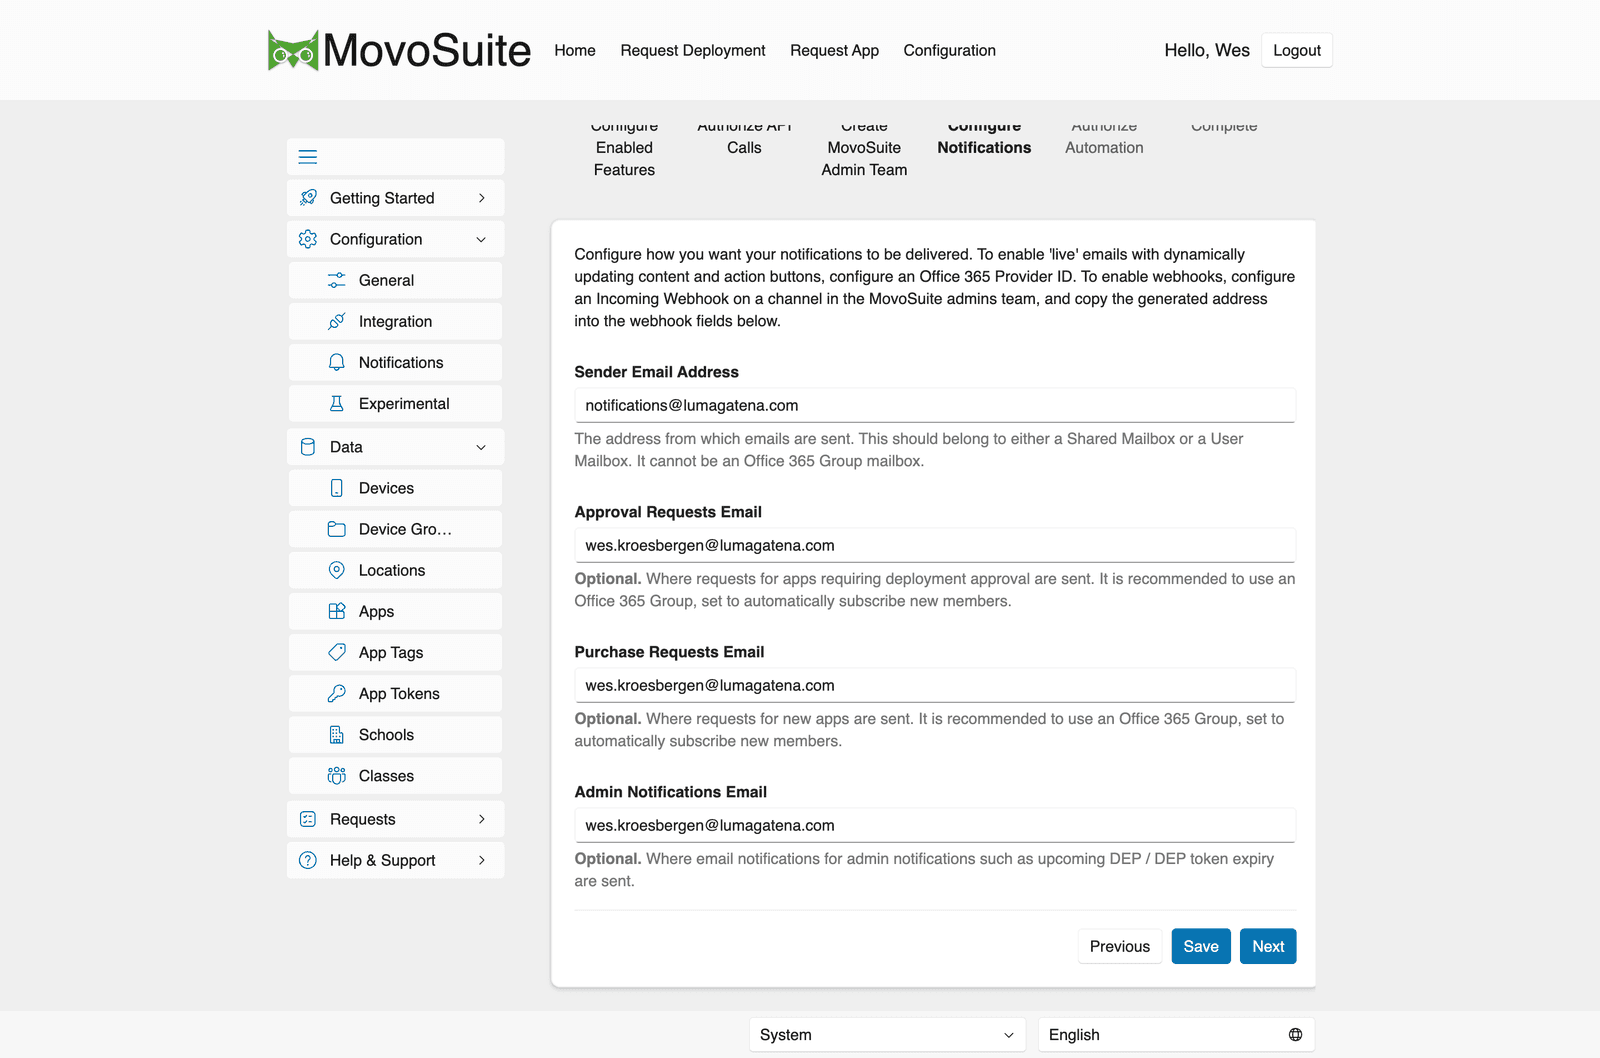
Set the sender address (a Shared or User mailbox — not an Office 365 Group) and the recipient addresses for approval requests, purchase requests, and admin notifications. For “live” emails that update in place, configure an Office 365 Provider ID. If you use service-desk ticket email, configure its address as well; ticket delivery requires the sender and ticket addresses but does not depend on live email. Under Configuration → Notifications, also enable the admin Teams bot and/or webhook channels you want to use (see Notifications).
Step 5 — Authorize Automation
Section titled “Step 5 — Authorize Automation”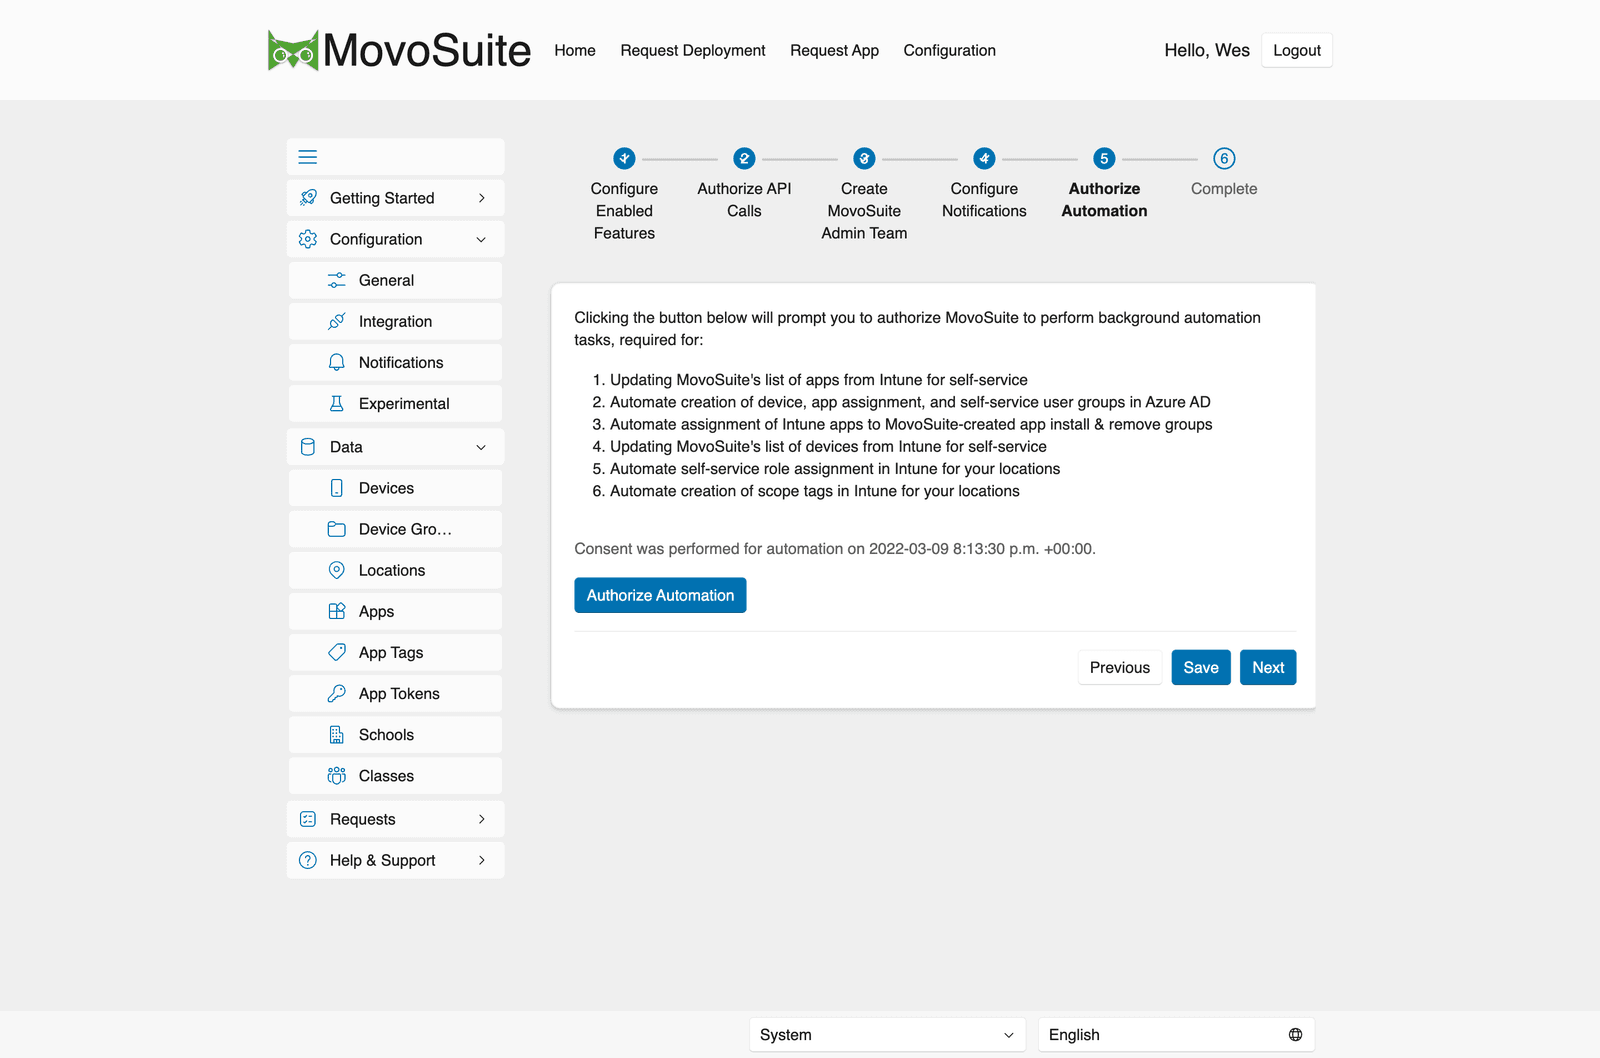
Click Authorize Automation and accept the consent prompt. This grants the application permissions MovoSuite’s background jobs use to:
- update the app list from Intune for self-service;
- create device, app-assignment, and self-service user groups in Entra ID;
- assign Intune apps to MovoSuite’s install/remove groups;
- update the device list from Intune;
- assign self-service roles in Intune per location;
- create Intune scope tags per location.
Step 6 — Complete
Section titled “Step 6 — Complete”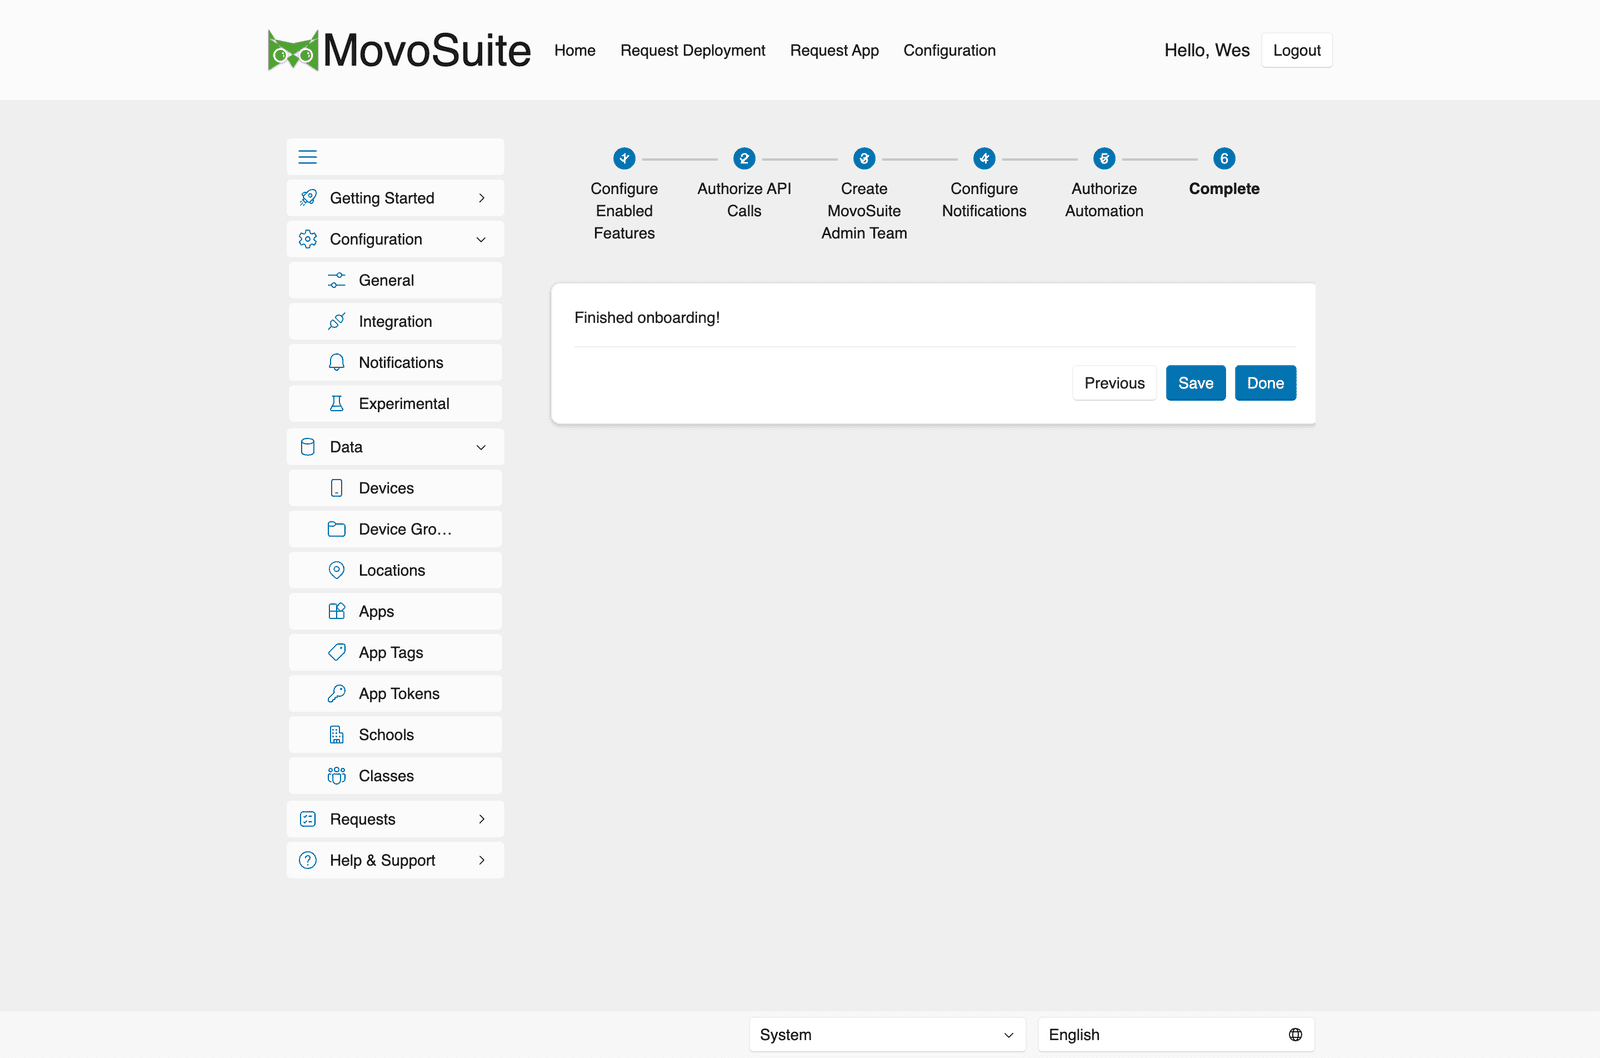
A confirmation that onboarding is finished. Click Done.
Next, fine-tune behavior under General & RBAC and verify your App Tokens (VPP) are valid.